Mixer Manual
Gear list for service
- Flight/rack case with mixer
- iPad
- Black briefcase of mics / cables
- Roll of cables (with neon tape)
- Speaker for back of the sanctuary
- Rubber mat for walkway cover
- Children's Church Phone & Charger
- Pastor's wireless pack/mic
- Handheld wireless mic for "Leader of the Day" / Offering / Communion / etc
Stage Setup
- Take the rack case to the stage
- Remove the front and rear panels
- Remove the cables that were routed inside the box for storage.
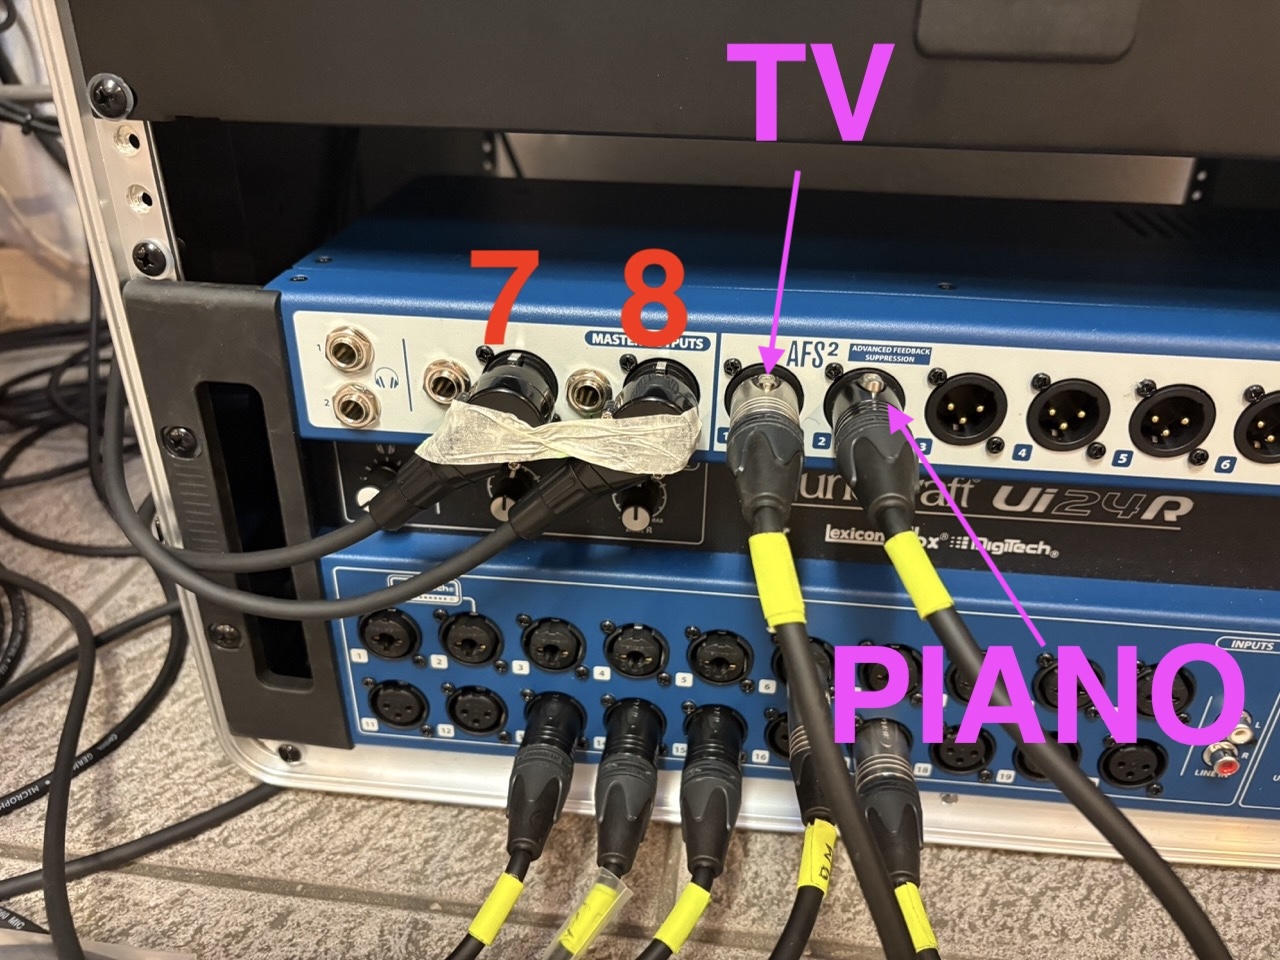
- Carefully remove the MALE ends of the master
L/Rout and plug them into channels7 (Left) / 8 (Right)in the stage snake. - Plugin the long power cord from the rear into the extension cord in the back corner where the trees are. Sometimes the bottom outlet buzzes...
- Remove two cables from the roll for the two stage monitors.
- If the previous person was kind, the longest cable should be the first on the roll to be removed.
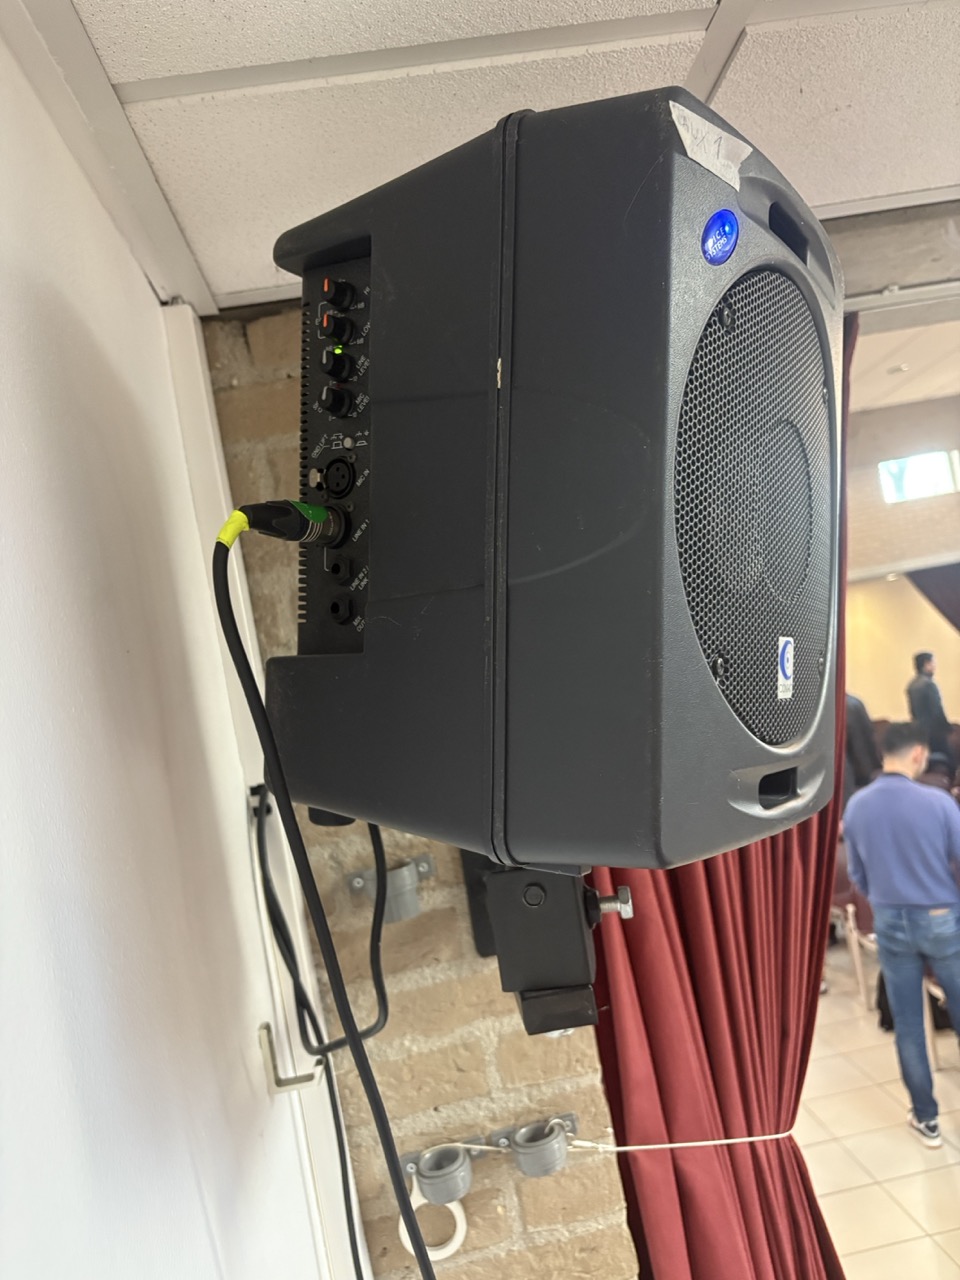
AUX 1is theTVside.AUX 2is thePIANOside. Run the cable along the front of the stage in the corner of the step and stage to prevent tripping hazards.- Peter (Bass player) will plug in to
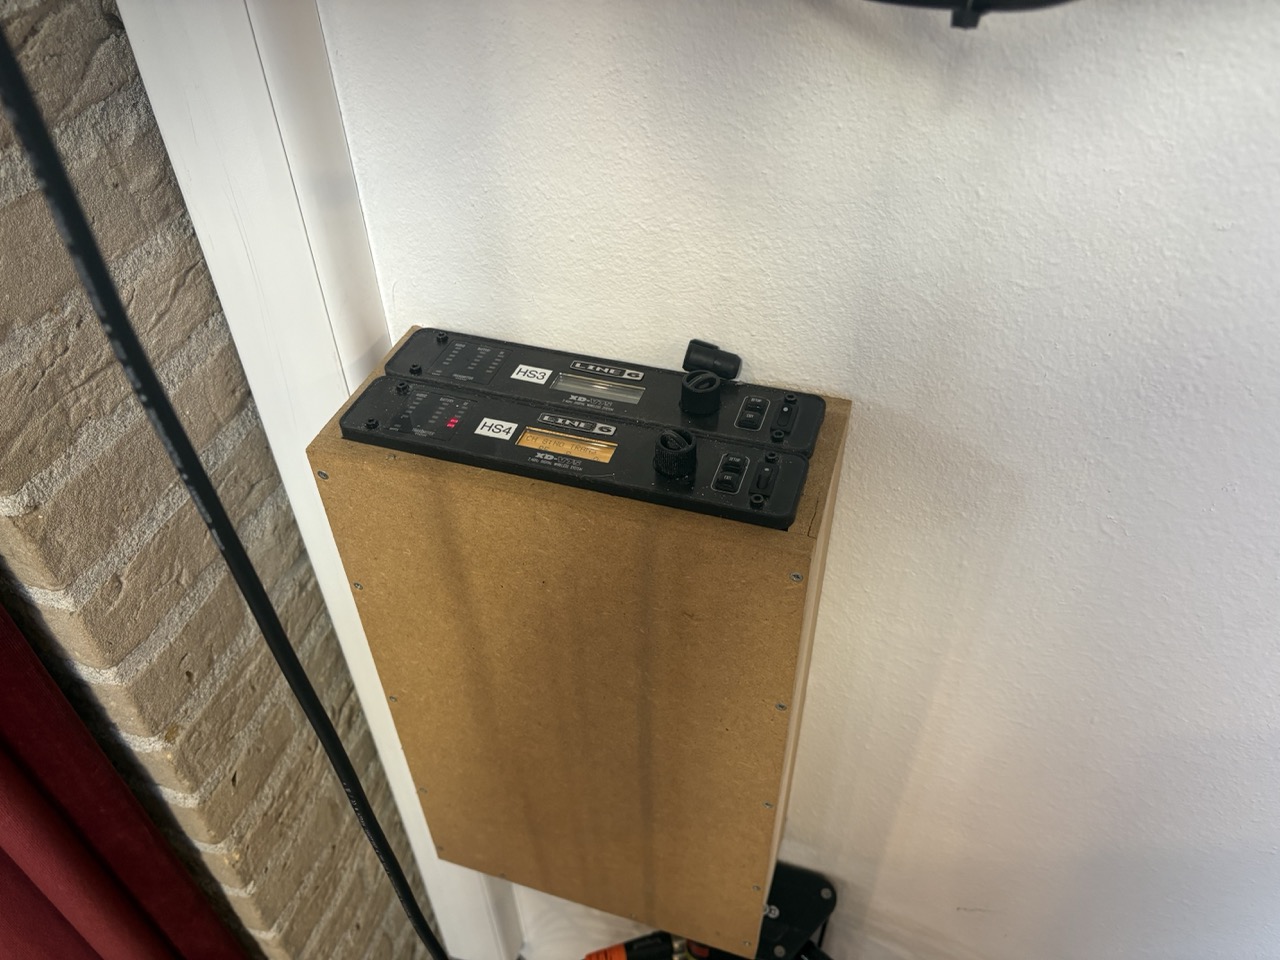
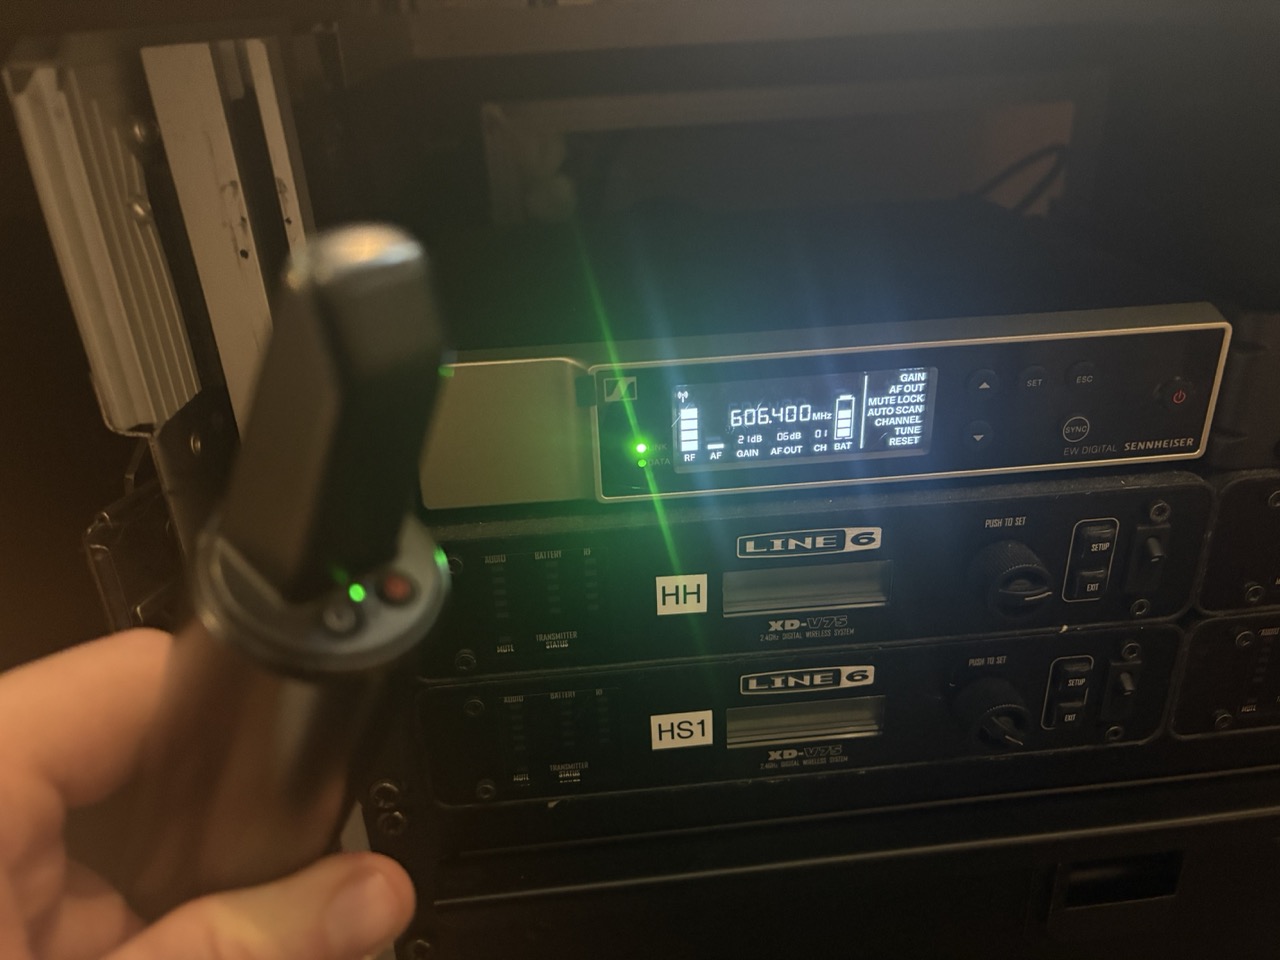
AUX 4 - Turn on the wireles pack receiver (
HS4) in the corner of the stage (see image).
iPad Setup
- Turn on the mixer. The mixer broadcasts a wireless network that the iPad will automatically join.
- Open the "app" on the homescreen of the iPad. If you access it via the web browser, it will not have all of the correct settings.
- Recall the correct scene for the band that is playing. DO THIS ASAP!!! If you wait too long, then you risk needing to start over or confusing yourself.
- Change the "View" (click the big "UI" button in the top right, then select the appropriate blue button) to the correct band so you don't need to scoll through a dozen extra ununsed faders.
- Unmute the
AUXmonitors and line check the entire band. If you set them up for success early, they can practice their music while you finish setting up for service.
Channel Assignment
The iPad is the source of truth for all mixer channels. Plug in the mixer, recall the scene for this Sunday and then use those channels as the guide.
Instrument setups
Some instruments and musicians requires different cables or other equipment.
- Electric Guitars: instrument cables (single barrel) & power extension.
- Piano: instrument cable (mono) (single barrel) & power extension.
- Electric Drums: instrument cable (mono) (single barrel) & power extension.
- Cahon (box drum): SM58 (rounded top).
- Harmonica: SM58 Mic (rounded top).
- Acoustic Guitar: instrument cable or wireless pack.
- Saxophone: a mic is generally not needed.
Rear Speaker Setup
- Roll the speaker to the back of the room.
- Remove the one chair on the end (if necessary)
- The power cable, XLR (mic) cable, and power extension cable should be in the big pouch cover.
- Remove the cover, plug in the 3 large pieces to construct the tower of the speaker. Use your brain.
- Plug the male end of the XLR cable into channel 1 (far left side).
- Run the power extension ⚡ and XLR cable into the booth. If the XLR cable does not reach, you have the speaker positioned too far away.
- Plug the power extension ⚡ into the plug just over the wall.
- Plug the female end of the XLR into the plug in the bottom-right of the back of the analog mixer. As far down & as far right as you can go.
- Cover the cables on the floor with the rubber mat.
Pastor and Handheld mics
- Turn on the receiver on stage (wireless pack) and in the booth (handheld).
- Remove pack #4 from the top drawer in the booth (black zipper pouch).
- Remove the Handheld from the small blue case on the floor under the booth.
- Replace all batteries with fresh ones.
- DO NOT REUSE BATTERIES. Just because they look full doesn't mean they are and finding out during the climax of the sermon or call to repentance isn't what we want.
- Get Pastor's headset mic from the briefcase.
- Plug it in to the pack and test it.
- If a guest is preaching, turn on the pack for them and communicate to them that you will control the mute. If they are comfortable switching the pack on and off, they may do so at their own discretion.
- It is your job to mute the microphone when Pastor is off-stage.
- Turn on the Handheld and test it. Turn off in between services if you can remember.
- It is your job to mute the microphone, not the Leader of the Day or other potential speakers.
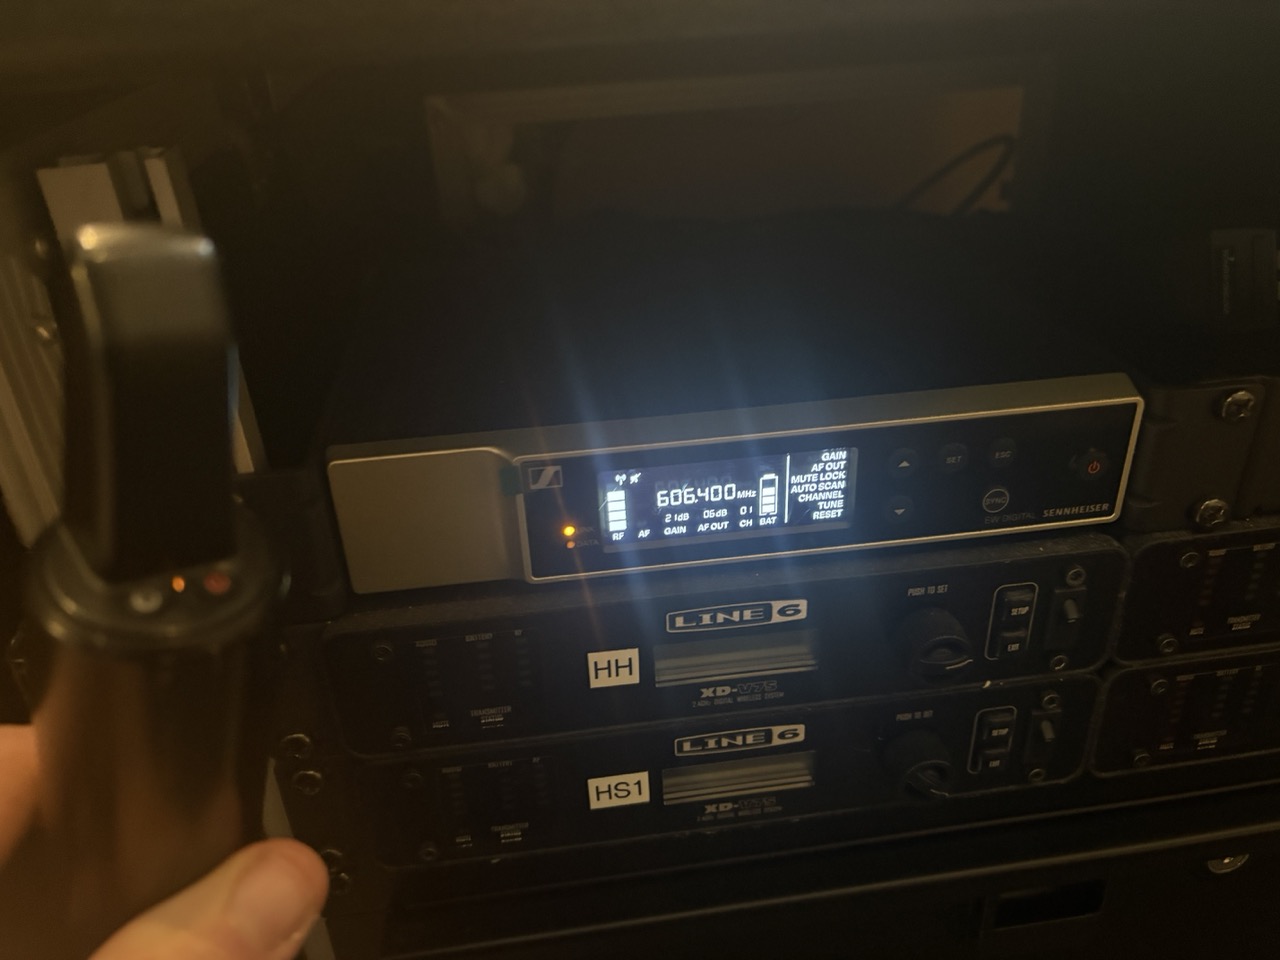
- You can verify if the handheld is muted by the receiver in the booth. Green is good. Yellow is muted on the mic itself.
Handheld Microphone Images (click to expand)
Unmuted (GREEN)
Muted (YELLOW/ORANGE)
Cleanup
Congratualtions! You've finished the service. Now it's time to clean up. This is arguably the most important part of your duties on the sound team. If everything is not put away, next week will be much more challenging and stressful. Be kind to your fellow volunteers and yourself!
- Turn OFF the children's church cell phone and put it in the black briefcase with the lightning cable and power brick.
- Plug in the iPad/turn it off.
- Place the handheld wireless microphone in the small blue case behind/under the sound booth.
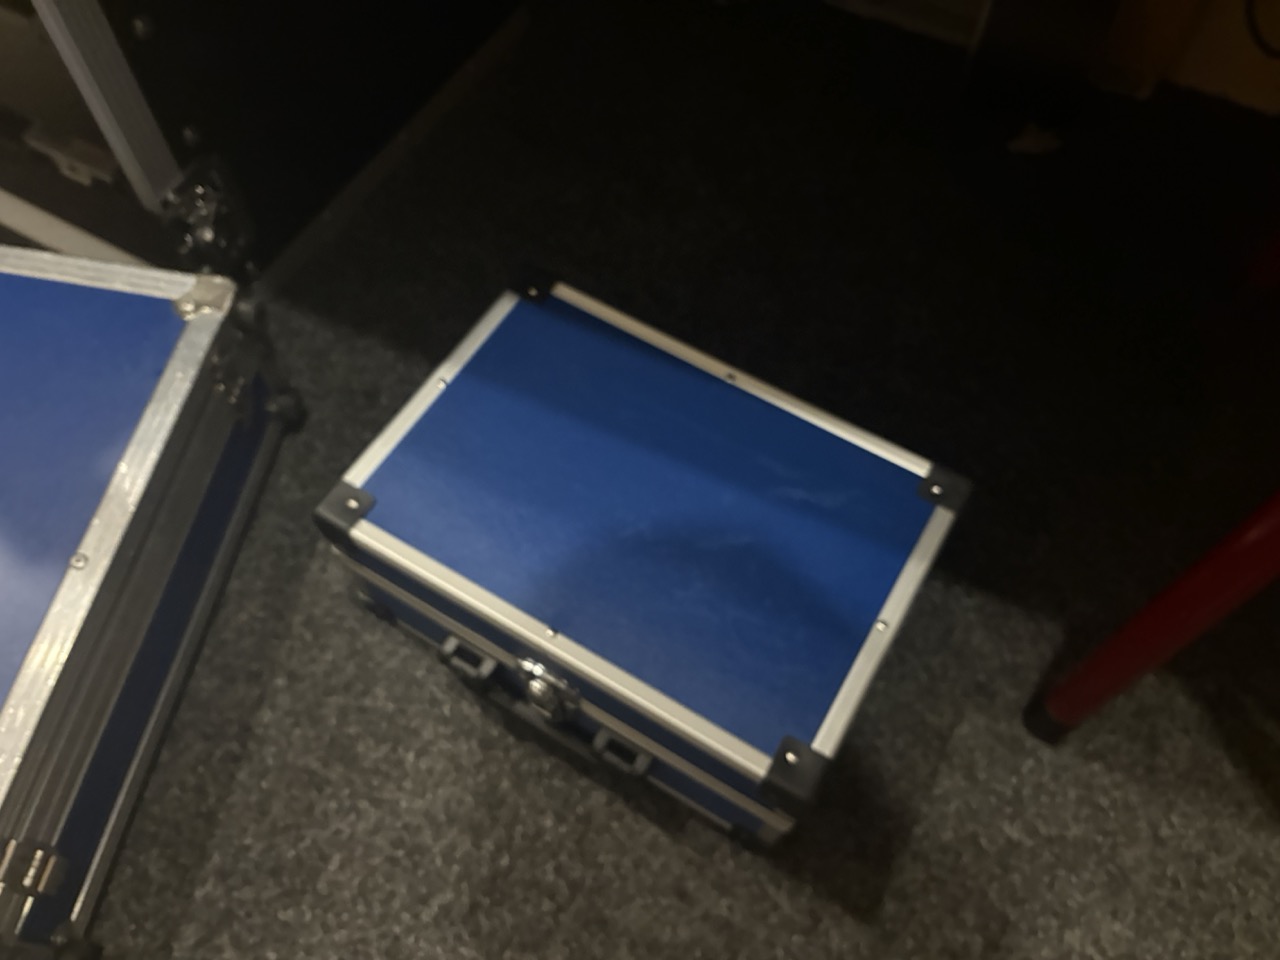
This is the case for the Handheld microphone.
- Place the wireless pack in it's case in the drawer in the sound booth.
- Place the lavalier-headset microhphone in it's box and place the box in the black breifcase.
- Pack up the rear speaker and roll it into the storage room. The power cable, XLR (mic) cable, and power extension cable belong in the big pouch attached to the cover.
- Pack away the stage cables:
- XLR cables go on the spool.
- Be sure to add the long XLR cable to the stage monitor last so it's easy to find and connect next week!
- Instrument (guitar/keyboard)
1/4"TRS cables go in the black briefcase.
- Put the front/rear covers back on the mixer flight case. The front cover is labled!
- Do NOT unplug any power cables from the flight case. Stuff the one cable in the back and that's it.
- Do NOT unplug the MAIN
L/ROUTPUT cables!
- Put any wireless instrument trasmitters/receivers on the charger in the closet.
Stage cleanup
- Turn off stage speakers
- Turn off sanctuary speakers
- Turn off HS4 receiver in corner
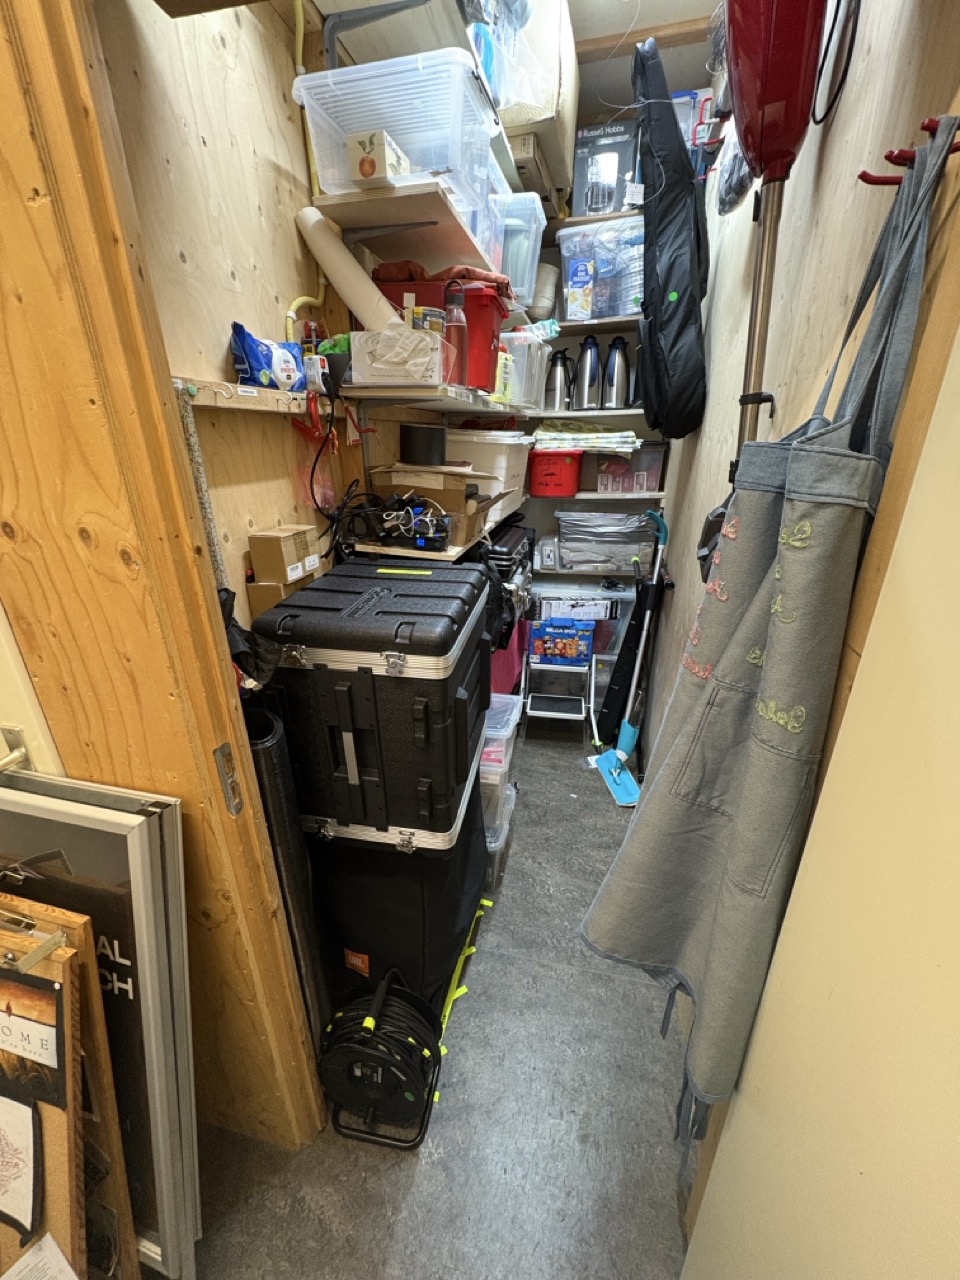
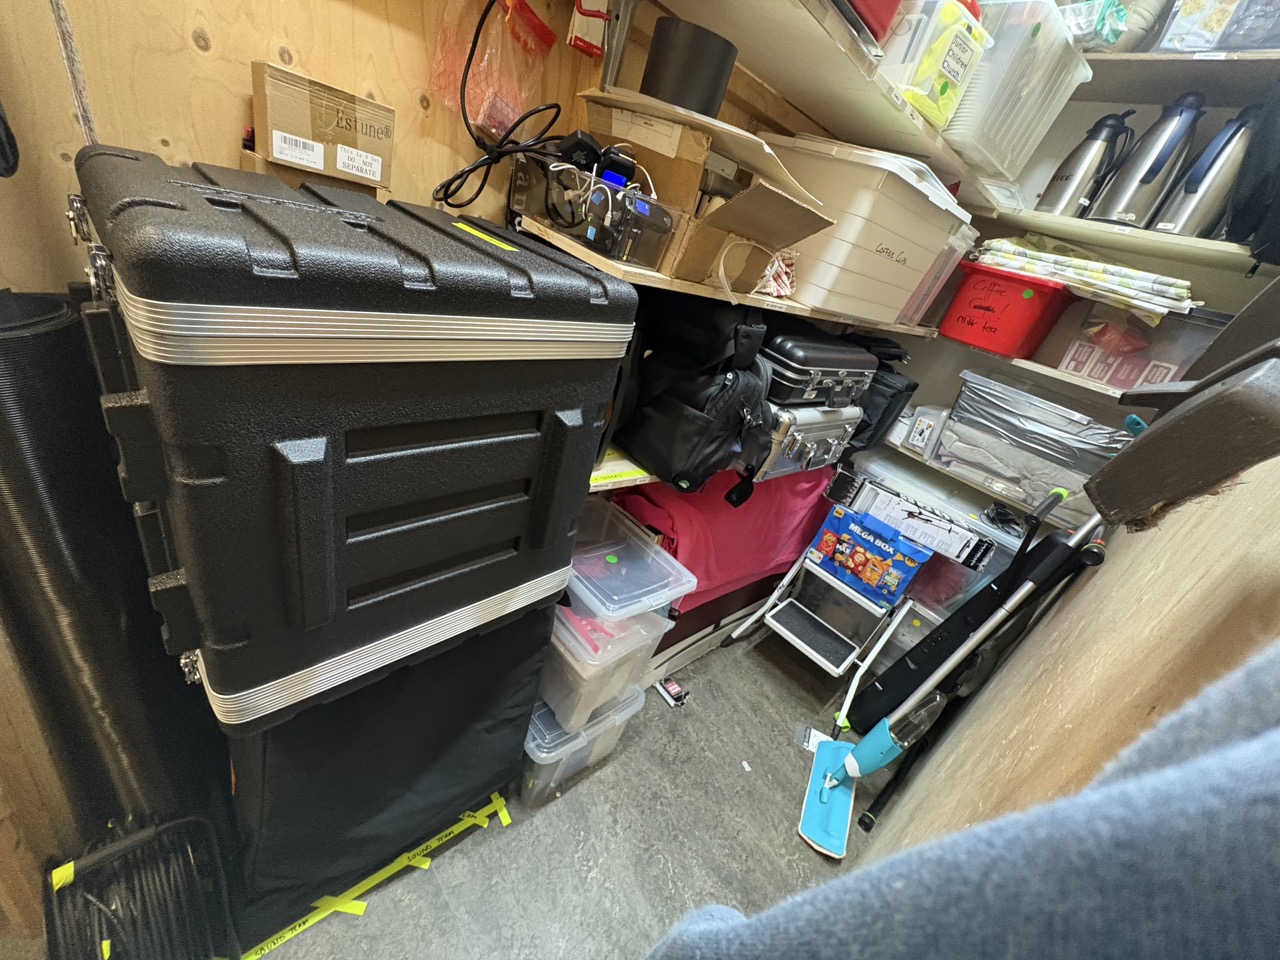
Closet Packing List
- Rear speaker in corner
- Black briefcase on shelf
- Rubber mat rolled up and placed in corner
- Cable spool on shelf
- Mixer flight case on top of rear speaker
Closet Images (click to expand)
Got more to add?
Send Daron an email with your edits/ideas or message on WhatsApp
Helpful Links
UI24R Mixer Software URL - You must be connected to the mixer's WiFi network.
Note: Multiple passwords are required to connect to the mixer and change settings suitable for running the service. The iPad is already setup to connect automatically.